
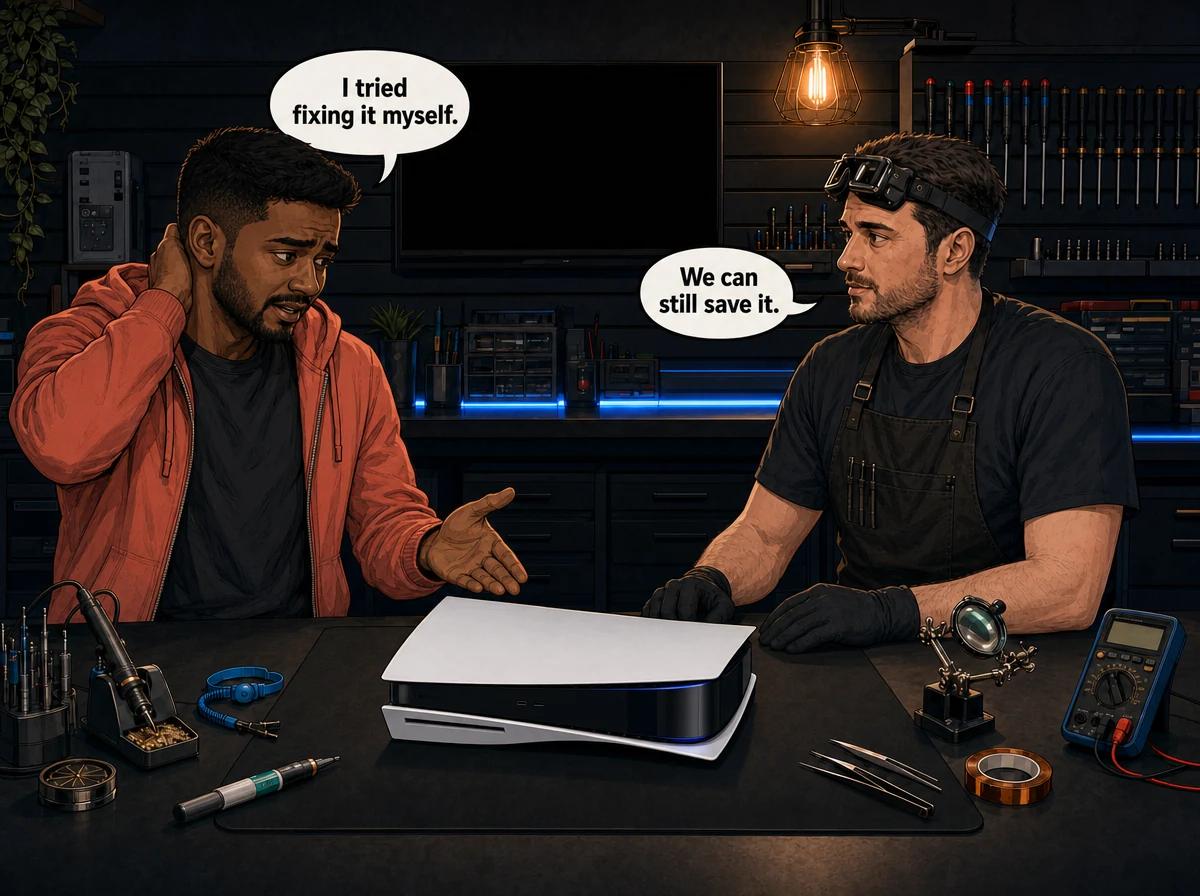
You opened your PS5 to clean it or swap the thermal material, put it all back together, and now it's dead. No fan spin, no light, nothing. Your stomach drops. First, breathe — you are not the first person to be here, and a stripped-down PS5 that won't boot is one of the most common jobs that lands on our bench. The worst thing you can do right now is keep pressing the power button, keep re-seating panels, or "just try one more thing." Every extra attempt on a board that might be shorted risks turning a fixable console into an unfixable one.
This guide walks you through the safe recovery steps once a DIY attempt has gone wrong — what almost certainly caused it, what you can safely check from the outside, what you must not do, and when to hand it to a professional. We repair DIY-damaged PS5 consoles at Console Service Centre in Boksburg every week, so this is written from what we actually see on the bench, not theory.
The first rule: stop before you make it worse
A PS5 that won't turn on after a strip-down has usually failed in one of two ways — either something isn't seated correctly, or the board has a short. Those two need opposite responses, and you can't tell which you've got by pressing the power button harder. Repeatedly powering a shorted board pushes current through the wrong path and can burn out a component that was, moments ago, still fine.
So the very first recovery step is to stop and power down completely. Unplug the console from the wall. Leave the power button alone. Then work through the calm, external checks below before you decide anything.
If you take one thing from this post: a DIY PS5 that won't boot is often still repairable — but only if you stop early. The damage that makes a console unrepairable is usually the second mistake, made while panicking about the first.
What actually causes a PS5 to stay dark after a strip-down
The PS5 is not a forgiving console to work on. Sony builds it tight, with a liquid-metal thermal system, delicate flex cables, and small connectors that break if you look at them wrong. Here are the causes we see most often, in rough order of how frequently they walk through our door.
1. A liquid-metal spill shorting the board
The PS5's APU is cooled with liquid metal — a gallium-based alloy Sony applies at the factory, not ordinary thermal paste. Liquid metal is electrically conductive. If it smears off the die during a strip-down and bridges nearby components, it creates a short the moment power is applied. Sony fits a foam-and-rubber gasket around the APU specifically to contain the stuff, and disturbing that barrier is where a lot of home services go wrong.
A liquid-metal short is the single most serious DIY outcome on a PS5. If you attempted a thermal-material change and the console won't power on afterwards, assume this is a possibility and do not keep trying to boot it — every power-on attempt with metal bridging the board can spread the damage.
2. An unseated power connector or ribbon cable
The PS5 has an internal power supply that connects to the mainboard through a multi-pin connector, plus several flex (ribbon) cables linking the front panel, the disc drive, and other subsystems. If any of these isn't fully clicked home during reassembly, the console can behave as if it's completely dead — no power sequence at all.
This is the good outcome, because nothing is actually broken. But you can't always tell a loose connector from a real fault without opening it, and re-opening a PS5 you've already fought with is exactly how the next problem happens.
3. A fan connector torn off the board
This one is so common we could set our watch by it. When people lift the PS5's fan out, the small fan connector on the mainboard catches, and it snaps off — often ripping the copper traces around it clean off the board. A PS5 with a damaged fan circuit may refuse to power on, or power on and then shut straight down to protect itself. Rebuilding those torn traces is skilled micro-soldering work that takes hours; it is not a re-seat.
4. Stripped screws and cracked clips stopping a full reseat
The PS5's shell and internal shielding rely on plastic clips and a set of screws that strip easily if the wrong driver is used or too much force is applied. If a bracket or shield isn't fully seated because a clip snapped or a screw won't bite, a connector underneath it may not be making proper contact — and the console stays dark. Forcing the panels together to "make it fit" then cracks more clips and can pinch a ribbon cable.
5. A disturbed coin-cell battery
There is a small coin-cell battery on the PS5 board that keeps the console's clock running. If it's knocked loose or disturbed during a strip-down, the console can lose track of the date and time. That doesn't usually stop it powering on, but it can leave the PS5 unable to verify itself until it reconnects to the internet — so it's worth knowing about if your console powers on but then won't let games launch after a DIY session.
Safe recovery steps you can do right now
None of the steps below involve opening the console further or touching the board. They're about damage control and giving your PS5 the best chance of a clean recovery.
- Unplug it and leave it off. Pull the power cable from the wall. Stop pressing the power button. If the console did anything alarming — a click, a smell, a spark — do not plug it back in at all.
- Check the obvious external things. Make sure you're using the original power cable and it's firmly in. Try a different wall socket. Rule out the simple stuff before assuming the worst.
- Don't force the panels. If the shell doesn't sit flush, don't press harder. A panel that won't close usually means something inside isn't seated — forcing it can pinch a ribbon or crack more clips.
- Bag every screw and part you removed. Keep them grouped by where they came from. If parts are missing or mixed up, tell the shop — it saves diagnostic time and money.
- Photograph what you did. A couple of phone photos of how far you got and where things were connected genuinely help a technician pick up where you left off.
- Write down what you attempted. "I was re-doing the thermal material and spilled some" tells us in one sentence where to look first. Honesty here is worth real money — it stops us chasing the wrong fault.
The honest truth about DIY PS5 repair: opening the console yourself does not automatically void your manufacturer warranty — after the FTC ruling on "warranty void if seal is broken" stickers, simply opening it no longer kills all cover. But any damage you cause during the attempt is not covered, and under South Africa's Consumer Protection Act those blanket "seal broken = no warranty" terms are largely unenforceable anyway. The risk isn't the warranty. The risk is turning a routine service into a much bigger board-repair bill.
What you must NOT do
Some "recovery" advice floating around online will make a bad situation worse on a PS5 specifically. Avoid all of the following:
- Do not keep power-cycling a console that might be shorted. If liquid metal is involved, every attempt can spread the damage.
- Do not hit it, flex the board, or "reflow" anything with a hairdryer or oven. These oven-reflow tricks you'll see for old consoles are not a real fix and will cook a PS5 board.
- Do not pour isopropyl over the board and hope. Cleaning a liquid-metal spill correctly means removing the board, working under magnification, and re-sealing the APU barrier — not a splash-and-pray.
- Do not open the power supply. This applies to every console we service. The PS5's internal PSU contains capacitors that can hold a dangerous charge. We will never tell a customer to open a power supply — it can seriously hurt you.
- Do not keep re-opening and re-closing it. Each cycle risks a fresh torn cable or stripped screw. If two careful reassemblies didn't fix it, more won't either.
Opening your console yourself risks causing additional damage — broken flex cables, stripped screws, or damaged connectors that make the repair more expensive. We strongly recommend leaving internal repairs to professionals.
When to stop and call a shop
Here's the simple test. If your PS5 is dead after a strip-down and you've checked the external power basics, you have already reached the point where a professional should take over. Specifically, stop and get help if any of these are true:
- You attempted a thermal-material (liquid-metal) change and it won't boot afterwards.
- You noticed a burning smell, a spark, or a click when you last tried to power it.
- A connector, clip, or the fan cable broke, or a screw is stripped.
- The shell won't close flush and you don't know why.
- It powers on and then shuts straight down.
At that stage, more DIY has a poor risk-to-reward ratio: the possible upside is you re-seat a cable, but the possible downside is a ripped fan trace or a spreading short that costs far more to fix. A professional strip-down under magnification, with the right tools and no panic, is the safest path.
Not sure what's wrong? WhatsApp us at 087 550 2307 — we respond immediately, 24/7, and can often give you a good idea of what's wrong based on your symptoms before you send your console in.
What a professional PS5 recovery actually involves
When a DIY-damaged PS5 arrives, we don't just try to power it on. We strip it back down properly, inspect the board under magnification, and find the real fault before quoting. Depending on what we find, recovery usually falls into one of these jobs:
- A full service and correct reassembly, if the fault was a loose connector or a botched thermal job with no lasting board damage. A PS5 full service is R1,249, and it includes a complete strip-down, clean, fresh liquid metal applied correctly, and proper reassembly.
- Board-level repair, if a chip or circuit was damaged. A liquid-metal short or a knock can take out the south bridge, which manages power distribution across the console. South bridge replacement is R1,849, and a BIOS IC replacement — needed when the board's firmware chip is damaged and the console won't boot — is R1,749.
- Fan-trace and connector rebuild, when the fan connector has been torn off with its traces. This is skilled micro-soldering, quoted after inspection because the extent of the damage varies.
- HDMI work, if the port or its encoder chip was damaged while cables were being pulled around. A PS5 HDMI port replacement is R1,299, and HDMI encoder-chip replacement is R1,799.
- Power supply repair, if the internal PSU took damage. A PS5 power supply repair is R1,749.
- Disc drive work, if the drive or its flex cable was damaged during the strip-down. A PS5 disc drive repair is R2,199 – R2,299.
Citable fact block: The most expensive part of a DIY PS5 repair is rarely the original fault — it's the secondary damage. A console that came in for a routine full service can leave needing that same service plus a fan-trace rebuild or a shorted-chip replacement, because the strip-down went wrong. Professional repair up front is almost always cheaper than fixing a DIY attempt gone wrong. A R599 bench fee is the only charge if we assess the console and it turns out to be genuinely unrepairable, or you decide not to go ahead.
Every repair carries our 6-month money-back warranty, whether it was a clean fault or a DIY rescue.
Why the PS5 punishes DIY harder than older consoles
If you've successfully cleaned a PS4 or an older console at home, the PS5 can lull you into thinking it'll be the same job. It isn't, for three specific reasons.
Liquid metal changes everything. A PS4 uses ordinary thermal paste — messy at worst, but harmless if it smears. The PS5 uses conductive liquid metal behind a sealed gasket. Get it wrong and you don't get a hot console, you get a shorted board. This is the single biggest reason PS5 DIY jobs end up on our bench as board-level repairs rather than simple re-services.
The connectors are fragile and unforgiving. The fan connector, the flex cables, and the front-panel ribbon all break more easily than people expect, and the traces around them are fine. One over-eager tug and a five-minute reseat becomes a multi-hour trace rebuild.
There's no room for error on reassembly. The PS5 is packed tightly. A cable routed slightly wrong, a shield not fully seated, or a stripped screw can leave a connection open. On a roomier older console you'd get away with it; on a PS5 you often don't.
None of this means the PS5 is impossible to work on — our technicians do it daily. It means it rewards experience, the right tools, and a steady hand, and it punishes a rushed home attempt harder than any console before it. If you'd like the fuller picture before you decide, our guide on DIY versus professional console repair lays out where the line sits, and our PS5 liquid metal explainer covers exactly why the thermal system is so unforgiving.
Frequently Asked Questions
Why won't my PS5 turn on after I took it apart?
The most common reasons are a liquid-metal spill shorting the board, a power or ribbon connector that isn't fully seated, or a fan connector torn off the board during reassembly. A dead PS5 after a strip-down is usually either a simple re-seat or a genuine short — and you can't safely tell which by pressing the power button. Stop, unplug it, and have it assessed before you cause more damage.
Did I ruin my PS5 by opening it?
Not necessarily. Plenty of DIY-opened PS5s are still perfectly repairable — a loose connector or a botched thermal job often has no lasting damage. What makes a console unrepairable is usually the second mistake, made while panicking about the first: repeatedly powering a shorted board, or forcing panels shut and cracking clips. The earlier you stop, the better your odds.
Does opening my PS5 void the warranty?
Opening the console does not automatically void the manufacturer warranty — after the FTC ruling on "void if seal broken" stickers, simply opening it no longer kills all cover. However, any damage you cause during the DIY attempt is not covered. In South Africa, the Consumer Protection Act makes blanket "seal broken = no warranty" terms largely unenforceable, so the bigger concern is the repair cost, not the warranty itself.
How much does it cost to fix a DIY-damaged PS5?
It depends entirely on what was damaged. If it's just a loose connector, it can be resolved as part of a standard PS5 full service. If a chip was shorted or a fan trace was ripped, it becomes board-level work quoted after inspection. We charge a R599 bench fee only if the console is genuinely unrepairable or you decline the quote — otherwise the assessment rolls into the repair.
Should I try to clean the liquid metal off myself?
No. Cleaning a liquid-metal spill correctly means removing the board, working under magnification, and re-sealing the APU's containment barrier with fresh liquid metal applied precisely. Splashing isopropyl over the board or wiping at it can spread the conductive metal further and worsen the short. This is a job for a workshop with the right tools.
Can Console Service Centre fix a PS5 I've already taken apart?
Yes — DIY rescues are a routine job for us. Bring or courier the console to us along with any screws and parts you removed, and tell us honestly what you attempted. We strip it back down, inspect the board, find the real fault, and quote before doing any work. Nationwide courier collection is available through The Courier Guy if you're not in Boksburg.
Get Your PS5 Fixed
Here's why Console Service Centre is your best choice:
- Deeply experienced with PS5 faults - DIY-damage recovery is routine bench work for us
- We recover DIY-damaged consoles every week - your fault won't be a first for us
- 1,346+ Google reviews with a 4.9-star rating
- PlayStation and Xbox specialists - We don't do phones or general electronics
- 6-month money-back warranty - If the same issue returns, we fix it free
Ready to rescue your PS5?
WhatsApp us: 087 550 2307 - We respond immediately, 24/7
Visit us: 6 Bester Street, Witfield, Boksburg
Can't get to us? We offer nationwide courier repairs. Ship your console to us via The Courier Guy, we'll fix it and send it back. Simple.
Topics Covered
About the Author

Shaun Potgieter
Founder & Head Technician
Expert console technician with 15+ years of hands-on repair experience.